Coop Door Progress

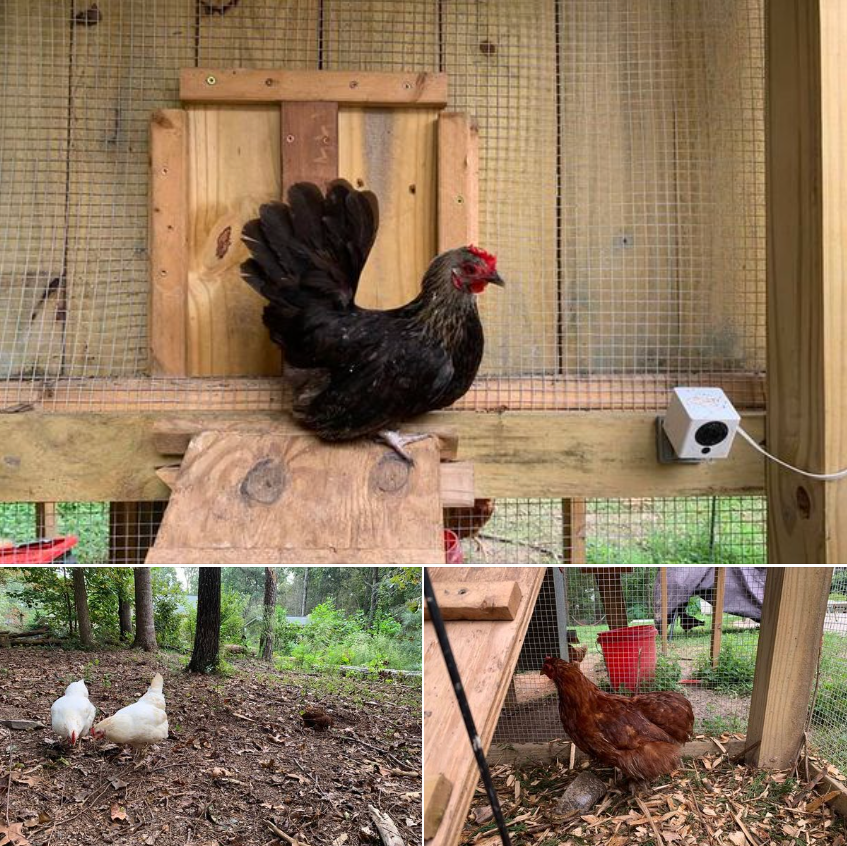
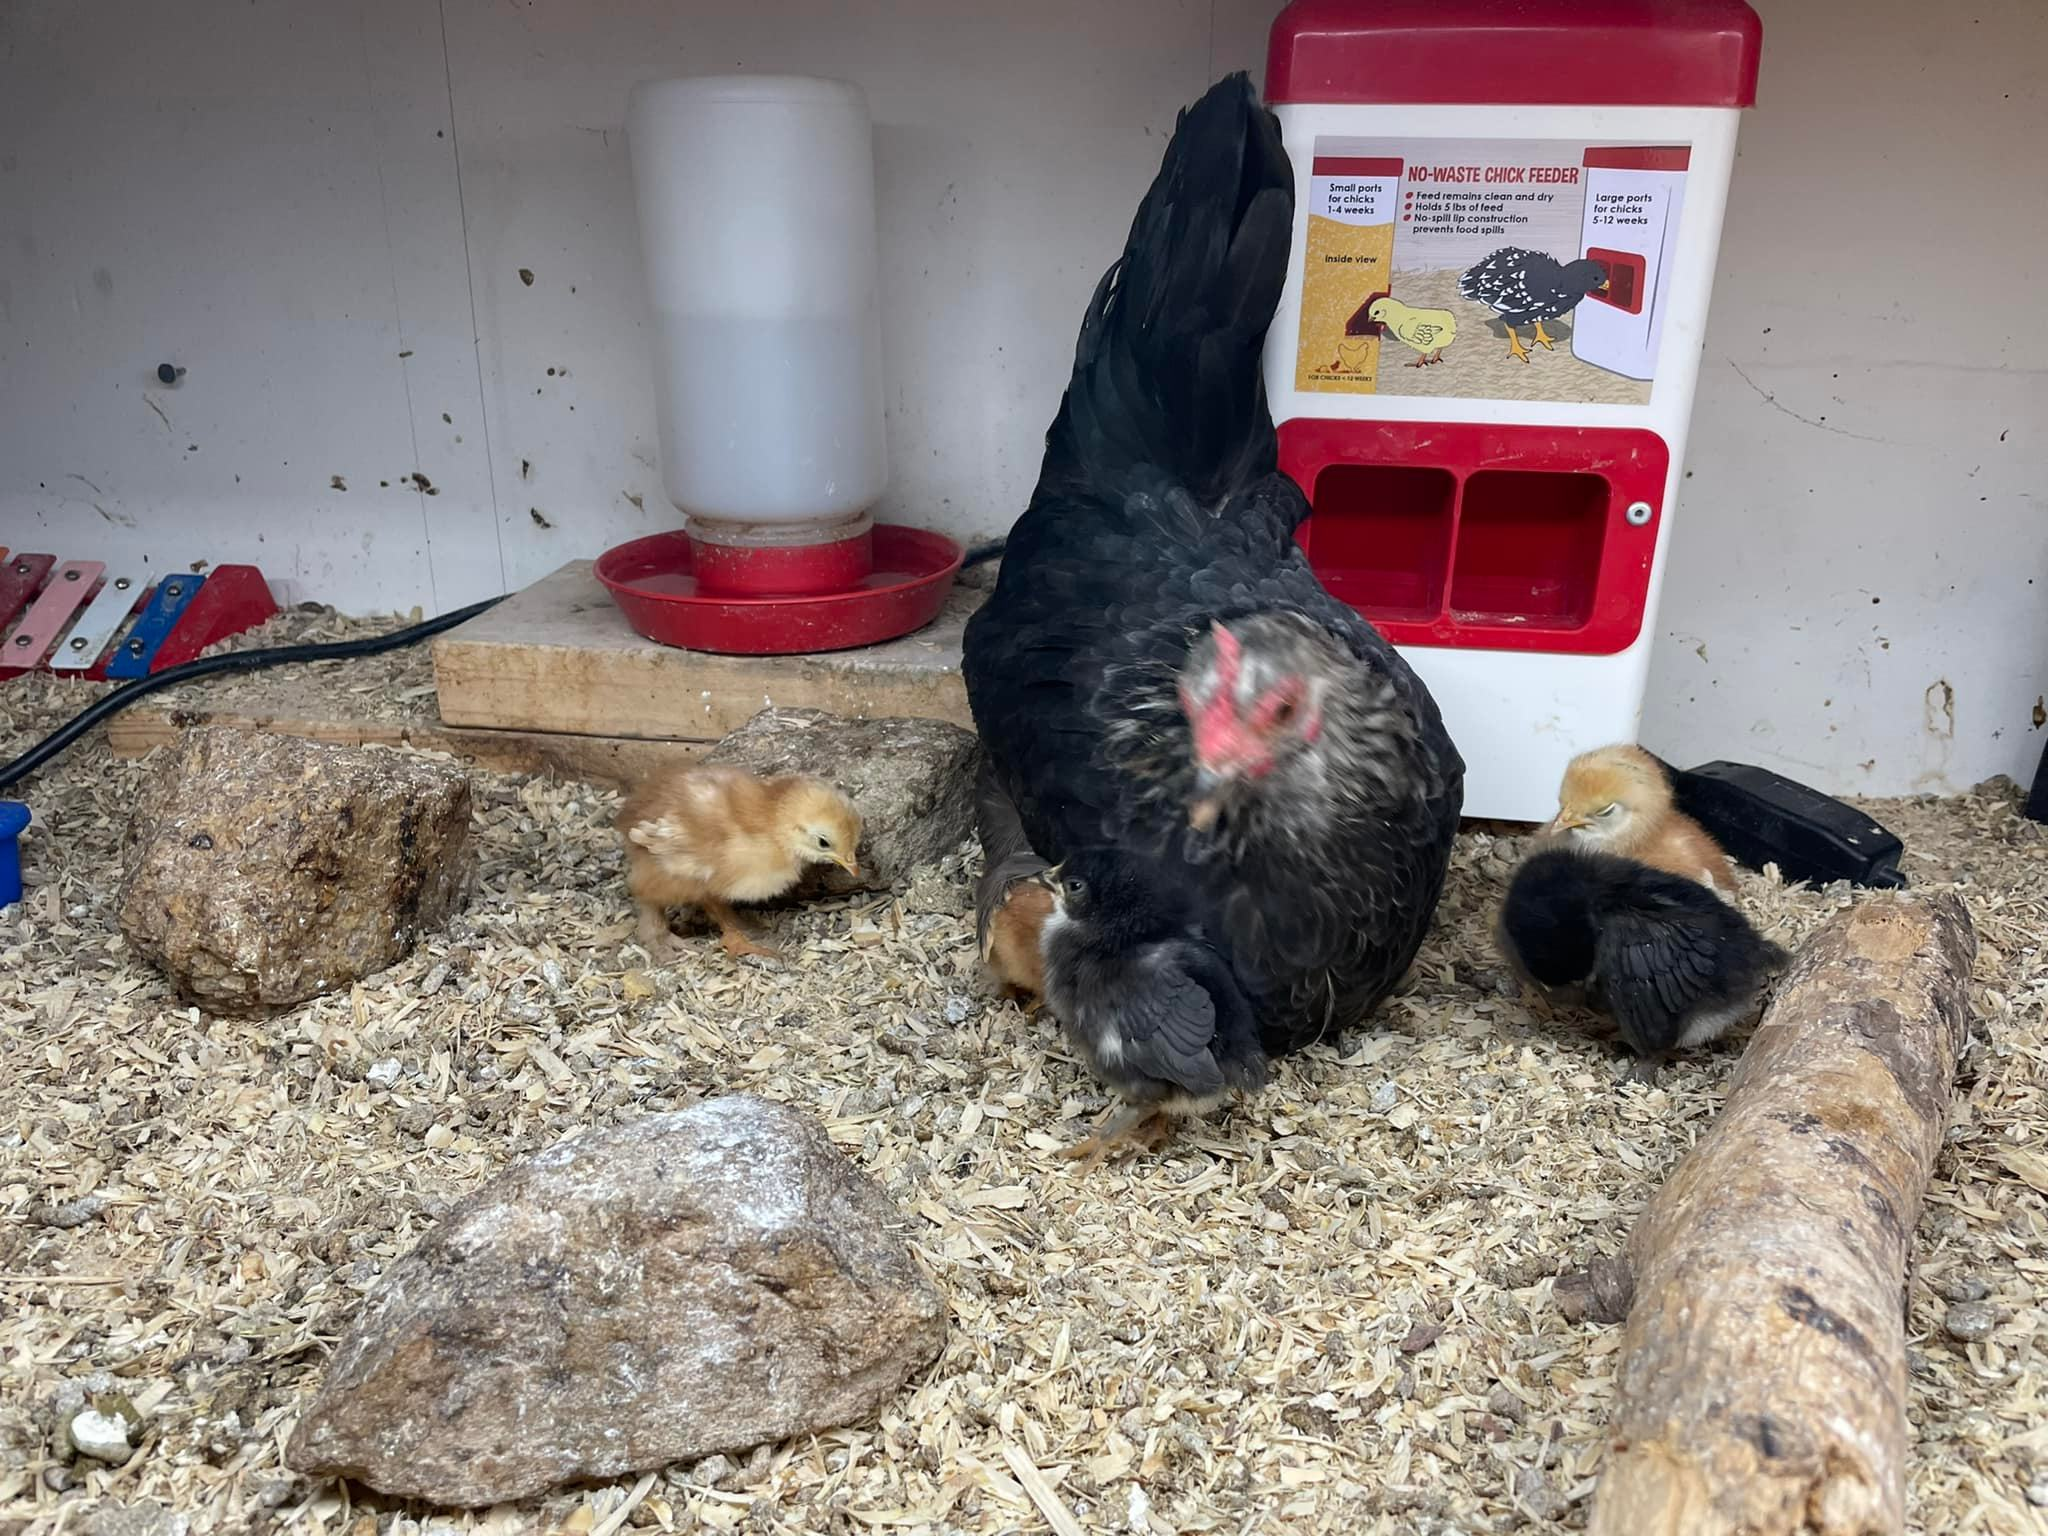
Firstly, R.I.P. to Biggie Smols aka The Notorious Ruth Bantam Ginsburg, the last surviving member of our “Bad Hen Records” crew consisting of Vanilla Ice, Suge White, and Puffy Combs. She was an adorable birb with a fantastic singing voice who absolutely loved hatching babies and is sorely missed.

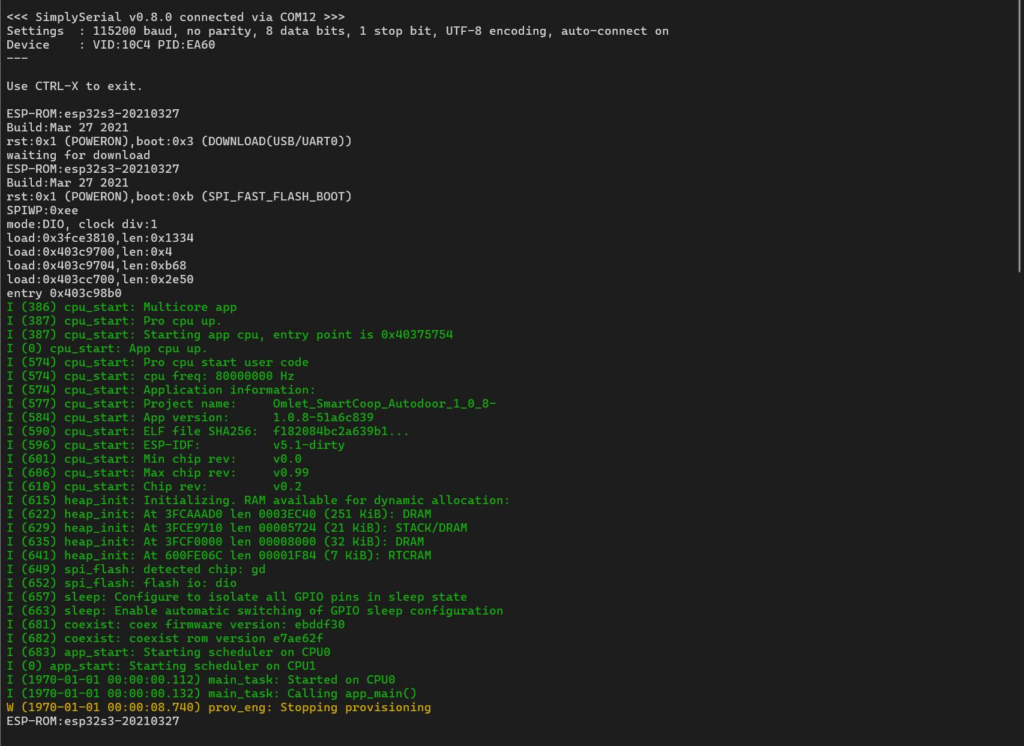
Progress on automating the coop door has been a slog. My main problem is that I keep crashing CircuitPython. It seems to be related to asyncio and frequent i2c activity, but troubleshooting with the developers has been painful because it takes days to happen, CP has no native debugging capabilities, and they do not provide debugging builds.

Probably I need to throw in the towel on CircuitPython and switch to MicroPython or C.

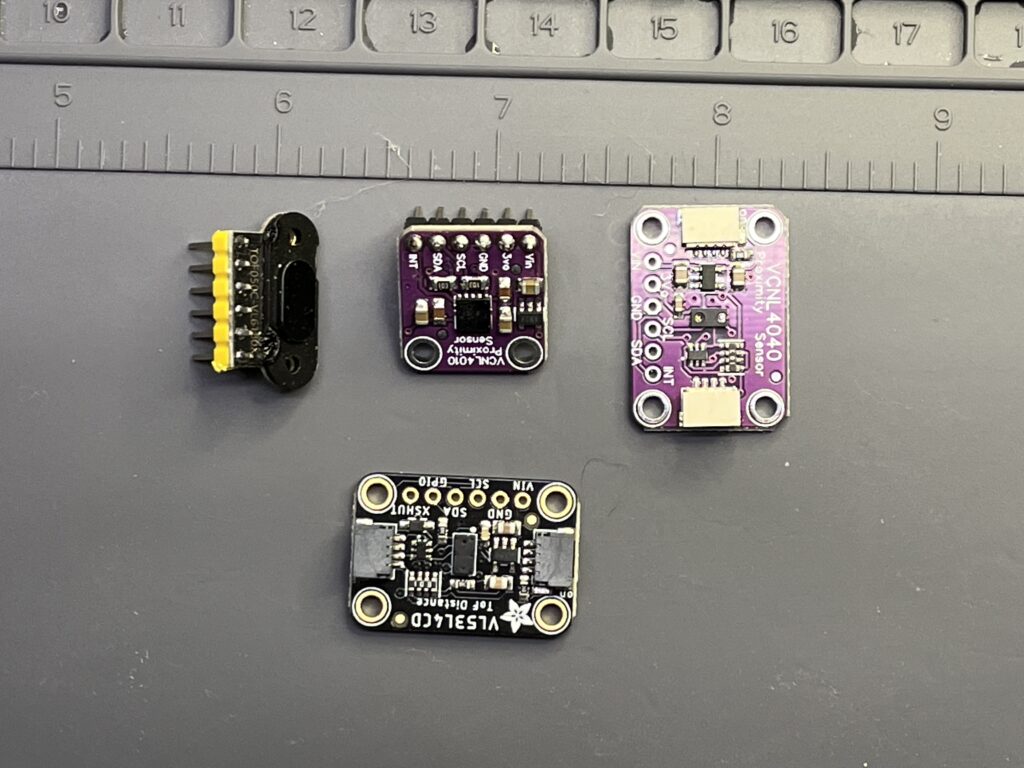
I’ve also been experimenting with using Time-of-Flight sensors to track the door’s precise position.

The upside to that method, aside from the obvious, would be that it can be completely concealed by the frame and should be reasonably protected from water and dust.

I’ve gone through a bunch of sensors trying to avoid the VL53L4CD / VL53L4CX because they’re pricey @ +/- $4 for bare chips or $15 + S&H for a full board from Adafruit, but so far none of the lesser chips I can get on a board for $1-$3 on AliExpress have been suitable for the required minimum and maximum distance measurements. So I guess that is what it is.

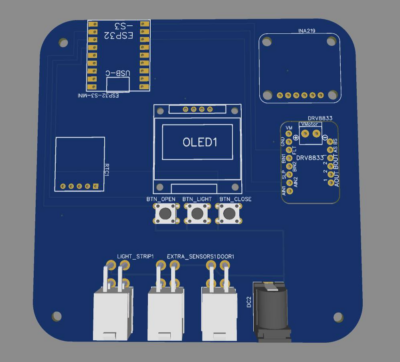
I’ve also been researching how to do light control. The PCBs I had made have a provision for controlling 5v WS2812b LED strips but it wasn’t well thought out and I don’t believe it will deliver enough power. I need a MOSFET in there, power regulators, I want to support the Omlet accessory light, and being able to run PWM LED strips at 12v or 24v seems better than 5v WS2812b.

I also picked up some UART-based LoRa modules that I want to support. I have sufficient Wi-Fi coverage outdoors but I figure that could be a challenge for many people, and a differentiator from Omlet’s new Wi-Fi controller.

The final change I want to make is switching to an ESP board with more GPIOs and breaking out the excess ones so that someone could add hardware capabilities I haven’t considered yet.

Sometime next week I’ll be validating that the i2c bus / ToF sensor functions with 2-meters worth of cable, and then I’ll start designing a new revision of the PCB that incorporates all of that.

Apps are also the enemy

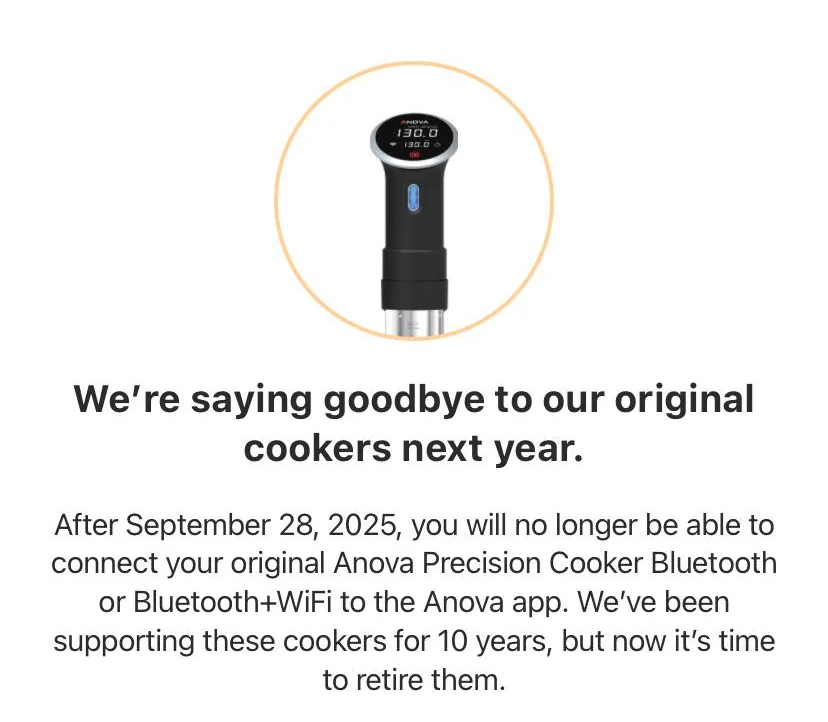
Anova just announced the planned obsolescence of their original connected immersion cookers. When my partner wanted one for Christmas 2016 it took all of my self-restraint to skip this product in favor of a “dumb” one, but even back then I was skeptical of the longevity of anything using on a proprietary phone app. Good on Anova for staying in business and keeping their products supported for this long, but lots of these devices will be prematurely sent to the landfill because they’ve lost one of their differentiating features.

I’m not all that eco-minded but I dislike this sort of wastefulness.

For Home Assistant users, the Anova BLE protocol has been decoded and implemented in ESPHome.

Screw that

Some problems with having built an electronics workbench with relatively little horizontal surface are that that work surface gets cluttered quickly and the storage I have within easy reach only works for items that are fairly compact.

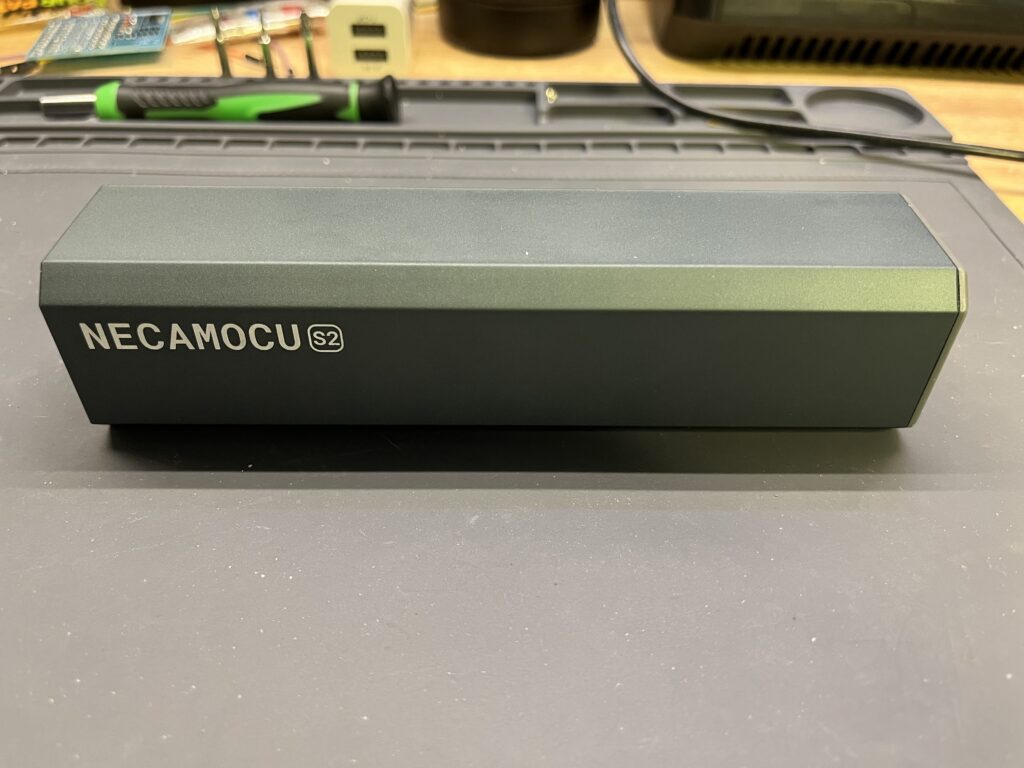
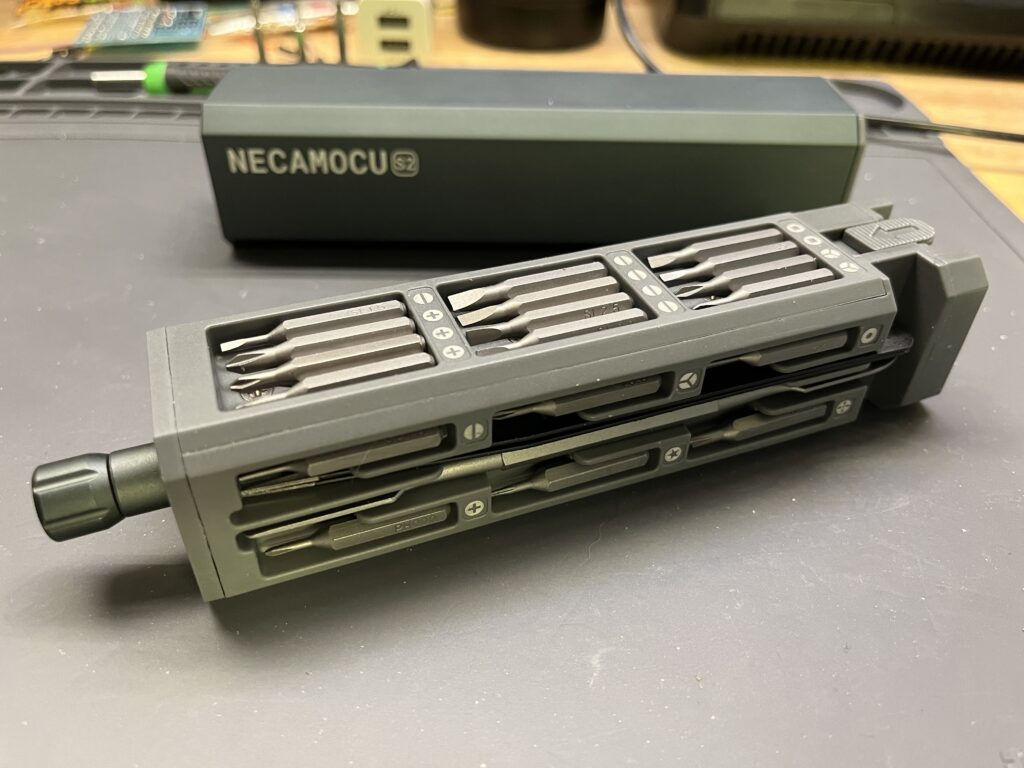
Both of the precision screwdriver kits I have consume too much horizontal space in use and don’t really fit the pegboard bins I bought. My anti-static mat does have plenty of bit holders but everything I keep on there is one more thing I have to remove and return whenever I rinse off the mat.

Probably I should buy a precision driver with built-in bit storage, but LTT isn’t selling theirs yet and how could I buy something else knowing it will be massively inferior? Plus none of them hold enough bits.

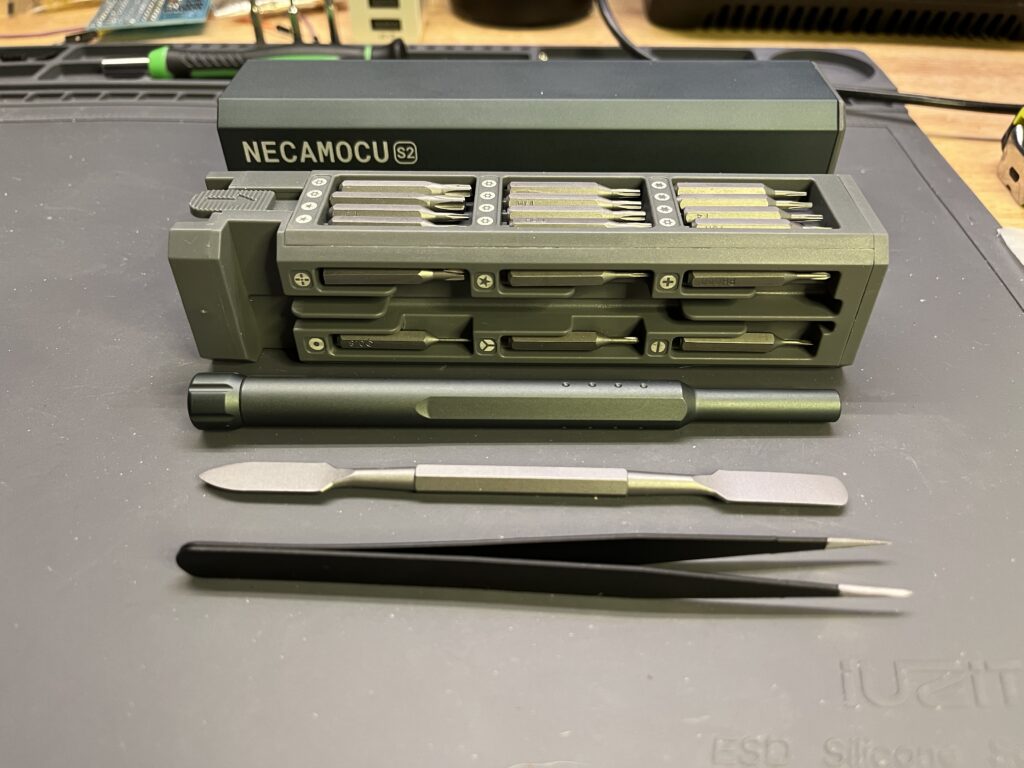
With much searching on Amazon, I did finally find something quite compact with lots of bits plus some handy extras for just $10, satisfying my inner tightwad.

It fits my pegboard bins just fine, sticking out about 2 inches. Placed upright it barely takes up any of my workspace surface. The quality overall is Meh but it’s plenty Good Enough™️ in all the ways that matter.

This is fine.

You’ve seen the meme, but did you know there’s a desktop toy?

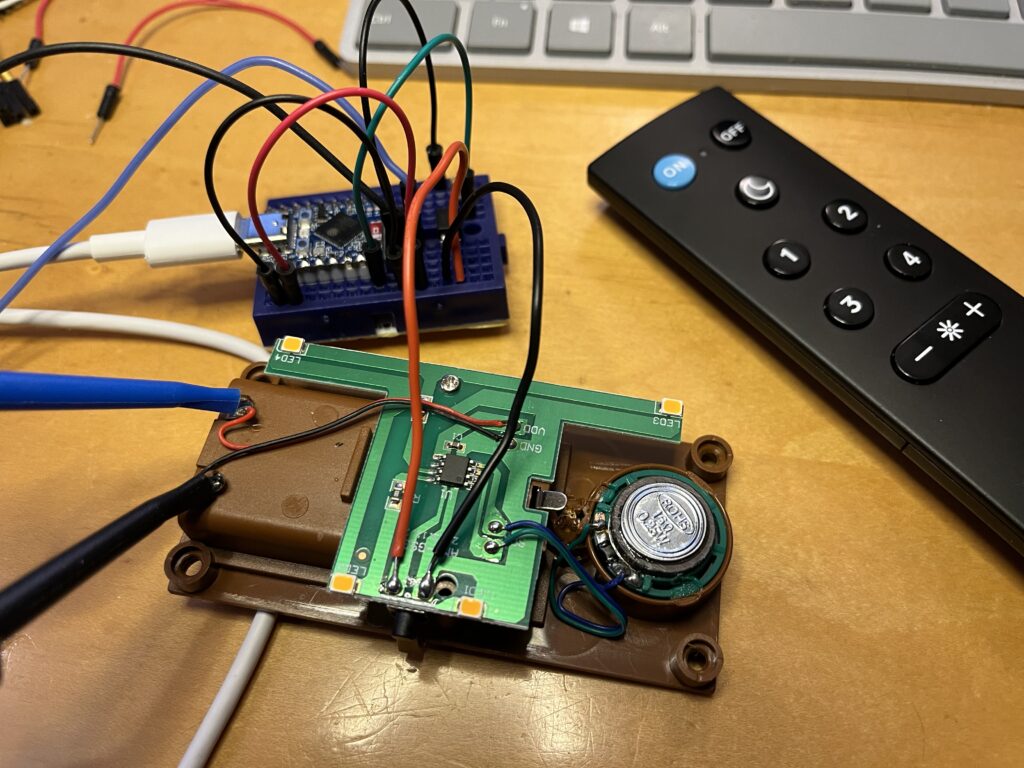
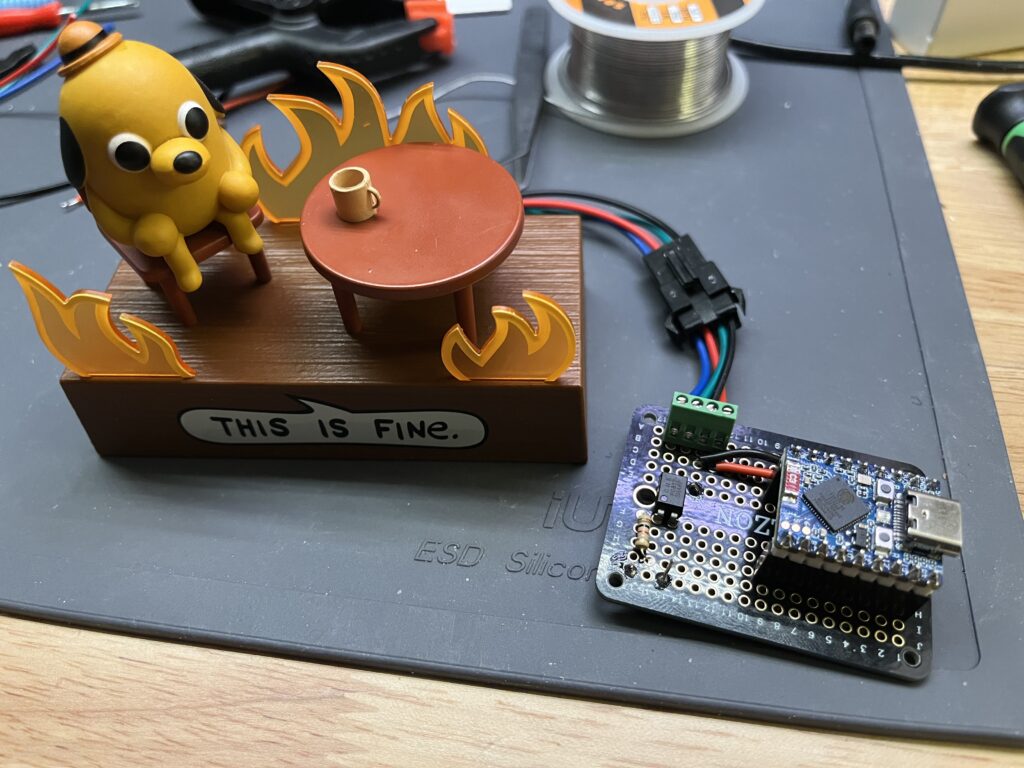
Of course I bought one. And immediately tore it apart, wired it up to my favorite ESP32-S3 board, and whipped up some code to make it respond to button presses on my Wiz (ESP-NOW) remote.

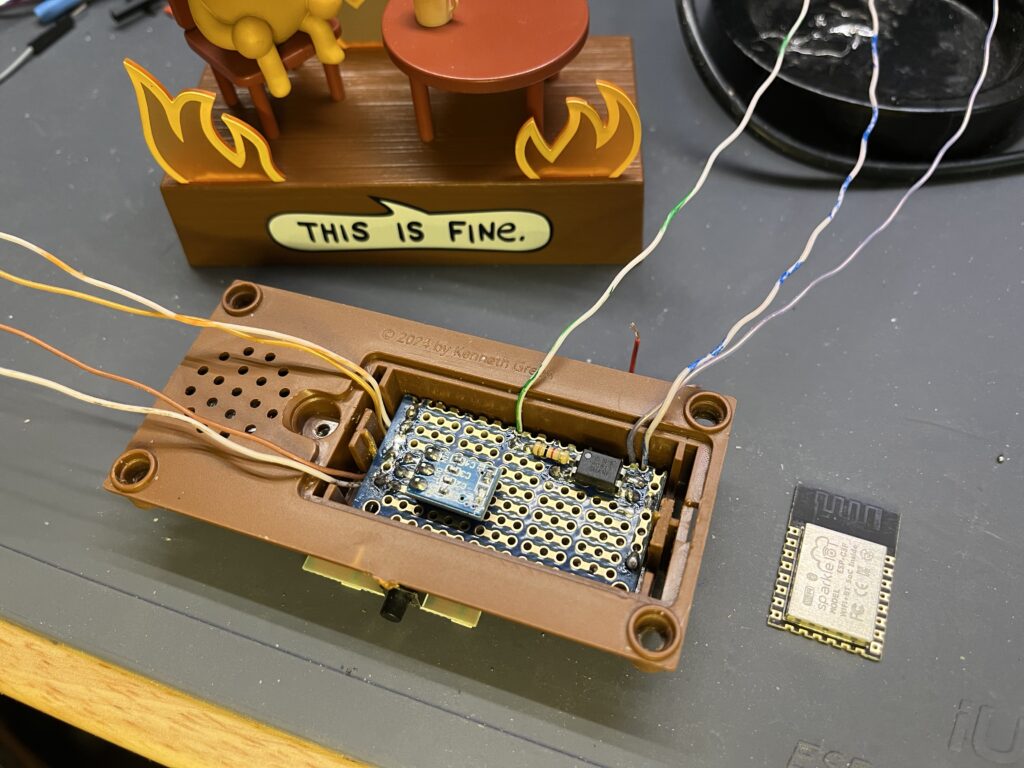
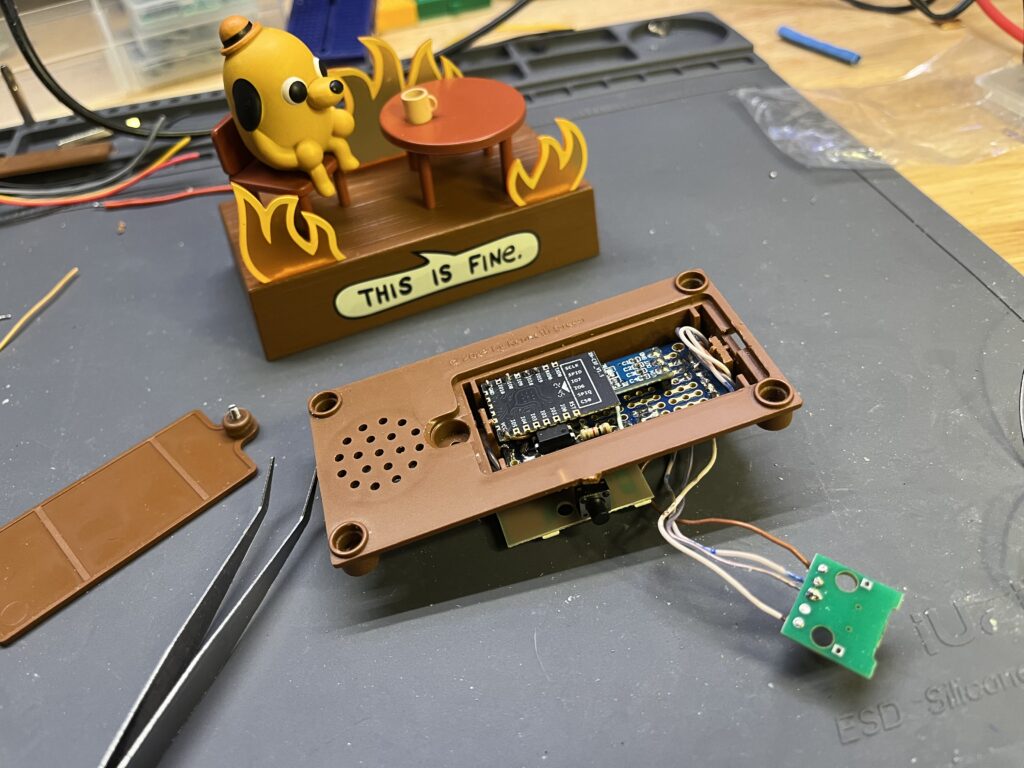
But I wasn’t satisfied with the result and was determined to find a way to make everything fit inside the battery compartment. I had some Sparkle IOT ESP32-C3F modules — an ESP32-C3 in an ESP-12 compatible package —on hand, and a solderable PCB I could cut up, and just made it all fit.

Here’s a video of it in action:

All told it’s less than $6 worth of parts: ESP32-C3F, 1K resistor, PC817 optocoupler, AMS1117-3.3 board, Micro-USB breakout, about half of a snappable PCB section.

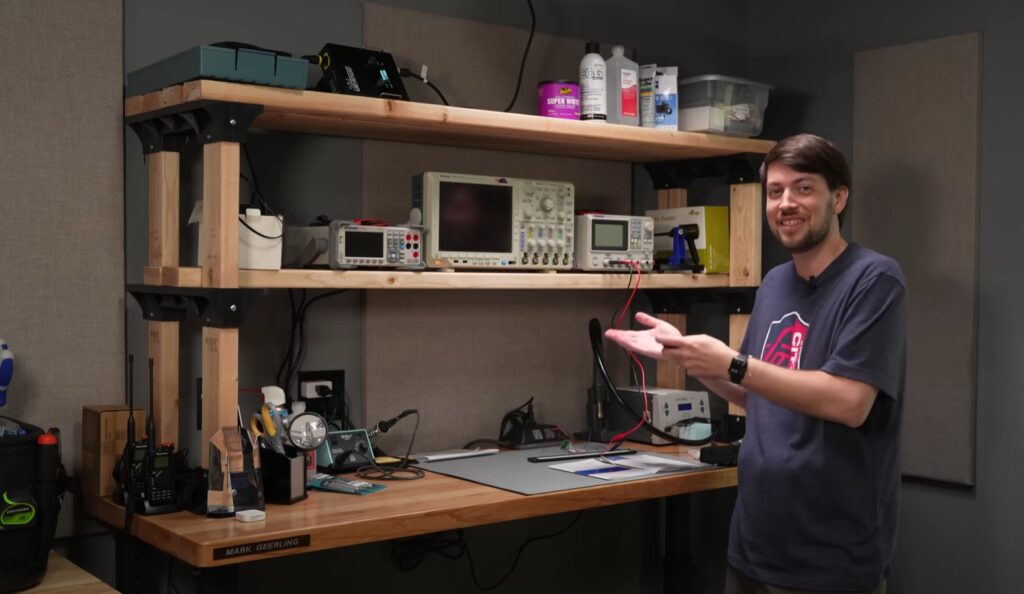
Workbench

Several weeks ago, a Jeff Geerling video teased a future video on his new electronics workbench setup:

Jeff Geerling's Electronics Workbench

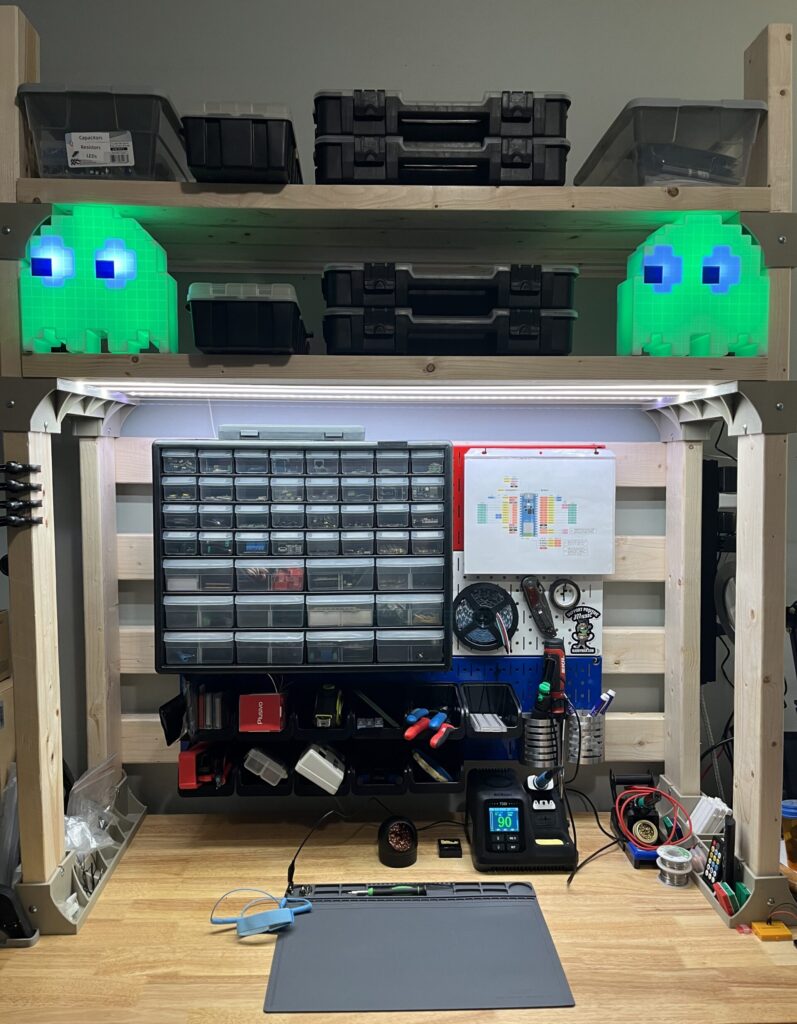
It just so happened that I was also building a dedicated electronics workbench, using a 48×24-inch motorized desk as the base, and I’d been mulling over how create storage for all my electronics tools and components around such a limited space. I wanted to somehow attach some pegboard but was struggling to figure out how to make that both cheap and sturdy using only tools I already have and materials I’m comfortable working with.

Jeff’s shelving kit looked perfectly adaptable to my goals, and being impatient, I scoured the Internets to learn what they were: Shelf Links by 2x4basics.

This is, honestly, an amazing result. All the important stuff is within easy reach, with plenty of space to store less-frequently-used items, all squeezed in to the narrow space I could devote to it in my home office.

I lucked out on getting the desk on manufacturer clearance for half-price (now sold out, sorry), so all-in with the shelf links, lumber, and organization products I spent about $500. If you want to build something like this on a motorized platform, do be aware of its weight limits. Wood is heavy. I’ve got about 100lbs of lumber here and a solid wood desktop of more typical dimensions can easily be another 100lbs.

These are a few of my favorite ESPs

I’ve tended to reach for a Raspberry Pi Pico W when I want to try things, as the UF2 (Mass Storage) bootloader makes it so easy to get started and rapidly iterate. Doesn’t hurt that I can always pick up another one at my local Microcenter for $5.99 and, unlike many ESP32 boards, they fit comfortably on a solderless breadboard.

Why doesn’t this random $3 ESP32 board fit properly on a breadboard?!

Every First-Time ESP32 User

But the more I’ve used the Pico W, the more I’ve found the Wi-Fi to be… troublesome.

Espressif has learned their lesson about size and pretty much all of their current designs — except those based on the legacy ESP32-DevKitC form-factor — are ~25.4mm or narrower, but 3rd-party boards that use older and wider designs dominate the marketplace. Especially when shopping primarily based on price. And people who should know better will still suggest those boards to people asking how to get started. #smh

I’ve come to the conclusion that buying cheap, “classic” ESP32 boards is being penny-wise and pound-foolish. I now only want to buy ESP32-S3 boards, because a perk of the -S3 is native USB support that allows for a UF2 bootloader to be installed for the Pico-like experience. And I want them to have some PSRAM, because I’ve managed to run out of memory in CircuitPython despite my best efforts to aggressively release memory and trigger garbage collection. And, of course, I want boards that fit comfortably on a a breadboard.

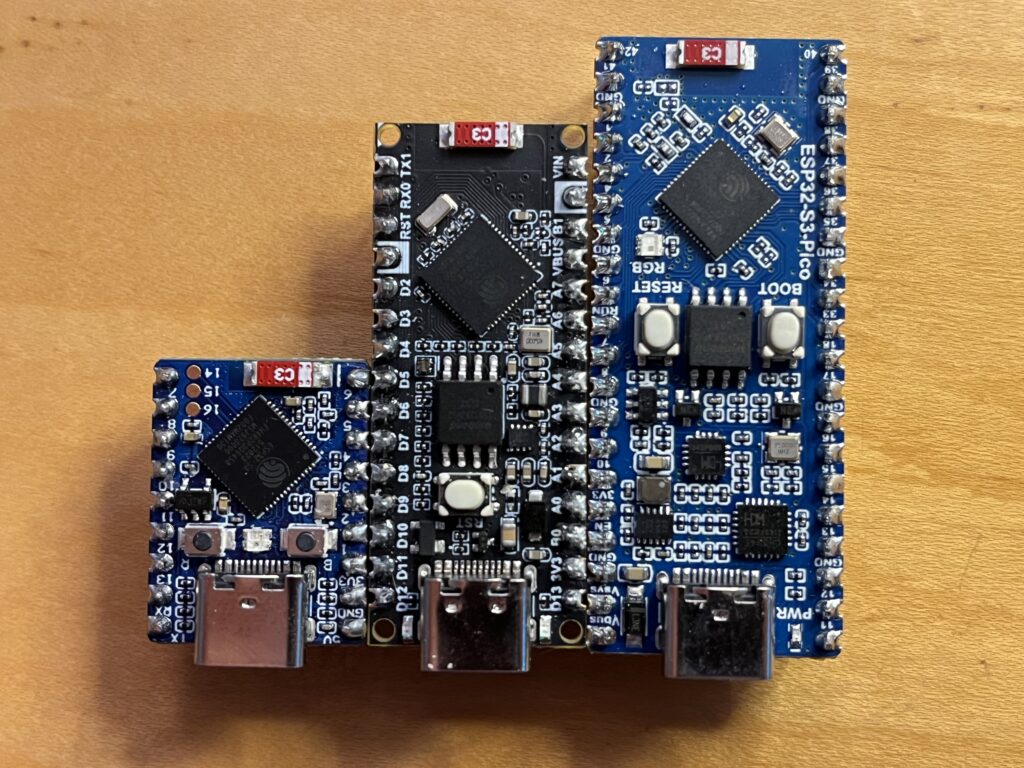
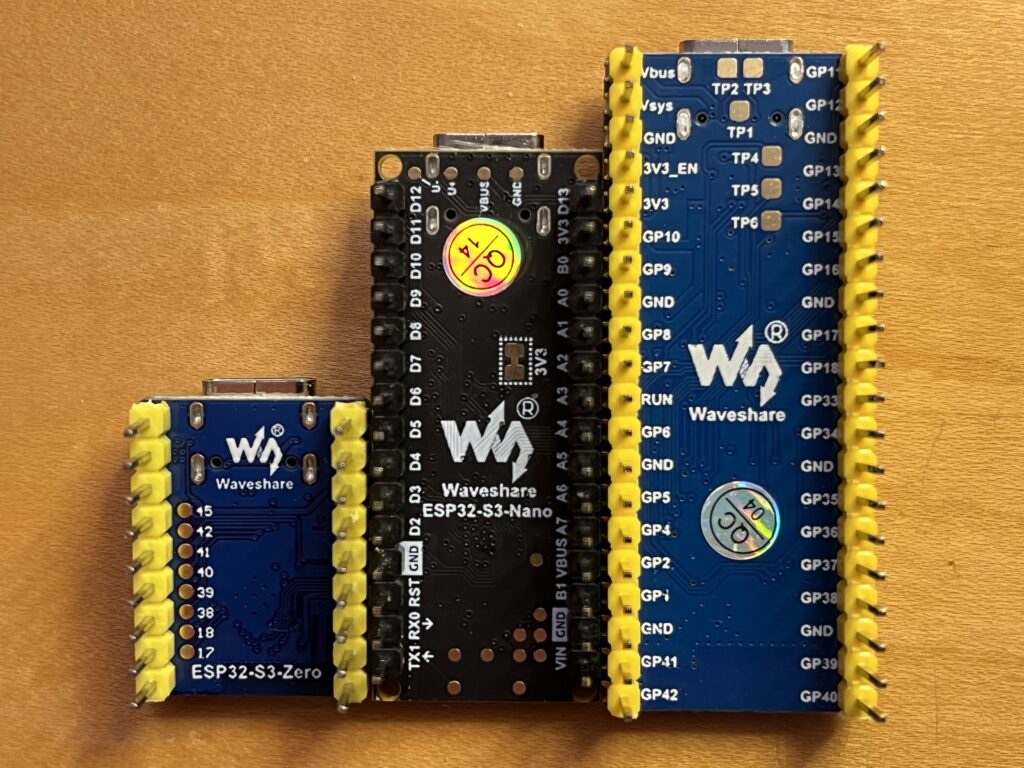
My current group of favorites are all from Waveshare and even narrower than 25.4mm:

The ESP32-S3-Mini is the board I’m reaching for first, as the smallest and lowest-priced of the bunch. It has 2MB PSRAM, 4MB flash, 13 usable GPIO pins, plus pads that can provide up to 11 more GPIO. It fits a 170-point breadboard with 8 rows to spare and the sequential pin numbering is a massive quality-of-life improvement over most boards.

The ESP32-S3-Nano replicates the Arduino Nano ESP32 at around half the price. It has 8MB PSRAM, 16MB Flash, and 22 usable GPIO pins. It can also (barely) fit on a 170-point breadboard.

And the ESP32-S3-Pico faithfully replicates the Raspberry Pi Pico form-factor and pinout. It has 2MB PSRAM, 16MB Flash, and 26 usable GPIO pins.

Again, these are not dirt-cheap boards — the -Mini gets down to $6.15 pre-soldered if you buy 4+ direct from Waveshare, plus $6 shipping to the US, or $12.49 on Amazon — however, objectively they’re not expensive and I feel bring plenty of value over the absolute cheapest boards. I love the -Mini for its overall compactness. The other two cost more but I believe are fair values on their own merits, and compatibility with accessory products from their respective ecosystems — which are vast — is a sweet bonus.

The -Pico and -Mini also come in slightly cheaper ESP32-C3 and/or -C6 variants, if you don’t find the -S3 compelling or have an affinity for RISC-V.

I would suggest extreme caution if looking at 3rd-party boards claiming to be copies of the Espressif’s big boi 44-pin ESP32-S3-DevKitC-1: Every one I’ve found on Amazon copies the pin arrangement but is ~28mm wide instead of ~25.4mm. The give-away is that they’ve silkscreened the GPIO labels next to the pins instead of between them — the ESP32-S3-WROOM-1/1U/2 modules don’t leave enough room for that on a board ≤ 25.4mm wide. There are correctly-sized clones on AliExpress, I bought five from this listing for $23 delivered, but that’s a deal that probably won’t last and other listings don’t come at much of a discount to buying the genuine Espressif board for $15 on Amazon. Waveshare managed to make their compatible ESP32-S3-DEV-KIT-N8R8 shorter by around 7mm while retaining the genuine WROOM module, but it carries a premium over all their other ESP32-S3 boards. Given the prices. and the ginormous size of the Espressif design with substantial overhang at both ends, I think this format should be reserved for projects requiring more GPIO than the alternatives.

And, finally, if you’re supremely budget-constrained and absolutely have to go with a board that’s $5 on Amazon or even less from China, the magic search terms are “ESP32 38-pin Narrow.” Those should be 25.4mm, but sometimes they are wider and you should always try to find documentation of the dimensions before buying.

My First PCB

Over the weekend I attended an introduction to PCB building class at Freeside Atlanta. They are an exceptionally friendly and welcoming group with an awesome space full of all the goodies I could ever hope to have access to for electronics, metal, wood working, and even blacksmithing, but sadly I live much too far away and would use the space too little to justify the membership costs. 11/10, would recommend them to anyone living near the airport.

With a few more hours work the next day, I’ve constructed and ordered my first prototype PCB for the coop controller:

The v3 prototype is probably not going to make it to the coop because it really needs longer screws and spacers to fit comfortably in the outdoor enclosure, and that just feels wasteful to track down and buy for what was intended to be an extremely temporary solution, so hopefully when this PCB gets here it actually works 🤣

I also ordered Omlet’s new smart controller. For science.

It appears to be trivial to replace the firmware but trying to hack on that isn’t high on my priority list right now. I am curious if it has a real-time clock module — the “RTC” built-in to the ESP32-S3 is a clock that ticks, not a clock that follows and preserves Earth time after power loss like found in a typical computer — but the markings on all the ICs are obscured by a coating.

Progress on the Chicken Door

This is v3:

First with v2 I switched to an ESP32-S3 board, because the Wi-Fi on the Raspberry Pi Pico W… sucks. For several days I battle-tested the Pico W against an ESP32-C3 with the classic PCB trace antenna, an Arduino Nano ESP32-S3 with a fancy resonant cavity antenna (like the Pico’s), and two other ESP32-S3 boards with ceramic antennas in the location I need this to go, and while I’m not sure there’s a clear winner, the Pico W was the worst.

Then I worked on adding physical controls and a DS3231 RTC module. Cleaning up my garbage “Make it do something” code and migrating to asyncio coroutines. Learning things like: Sometimes the motor doesn’t start and doesn’t draw significant current, so monitoring that the current has risen above a certain threshold is a thing I needed to do.

This v3 is prepping a more suitable version to go outside. It’s nearly ready…

Just in time for Omlet to have released their own Wi-Fi controller 😂🤣😭

Tho it doesn’t sound like it does the things I want my controller to do.

It Takes a Tough Man to Make a Tender Chicken

The Pandemic of 2020 turned my family into chicken tenders. We presently have about two dozen chickens, down from a peak in the low 40s.

Many pets are troublesome when you want to be away from the home for more than the day. Chickens, especially so — I’ve been shocked at how many people I know who are scared of chickens. Our main chicken coop is a place for them to sleep that’s reasonably secure from predators, not a living space complete with food and water, so it is challenging to leave them mostly unsupervised for days when their care instructions are “Open the coop as close to sunrise as you can, come back to close them up very soon after sunset, and we’re pretty sure the rooster is harmless but watch him and don’t worry that we’ll be mad if you have to beat him to death.”

Thankfully, technology exists to help with this.

There are many automatic chicken coop doors. The one I chose is from a company called Omlet, as theirs is the only one I believe reasonably trustworthy to not maim a chicken — it has a kill switch along the entire side of the door frame and can otherwise detect that the door is obstructed, presumably by monitoring the motor current. Many other doors just use a beam sensor.

Universally, the controllers on automatic chicken coop door allow operation by time or light level. This is… Not Great. The light control on the Omlet doesn’t really work on my chickens’ schedule. Going by time sucks because I need to regularly adjust the schedule based on the length of daylight.

And in general these controllers suck because they’re not Wi-Fi or Zigbee or Z-Wave so I can’t control them remotely or verify their state. The Omlet will eventually give up and display an error if it can’t open or close. Some others aren’t even smart enough to detect that they’ve failed at their task.

Since I bought the Omlet a couple years back, I’ve found three newer doors that sport Wi-Fi and have cloud dependencies. One charges for their cloud, one does not (so far), and neither of them has public information about whether they can integrate with any home automation platforms. The 3rd is Tuya-based, which is probably a plus as far as owning cloud-dependent devices from random small companies goes, but this is a product class where I want official local control and no Cloud.

Since I can’t buy what I want, and I’d dismissed the idea of going full DIY back when I originally bought the Omlet, my plan has been to make the Omlet door smarter. Others have gone before me, usually by taking an ESP-based relay board and connecting the relays to the button leads on the controller board. I found one person who replaced the controller entirely but is naively operating it via relays with a timer for how long the motor should run. In either scenario, they’re using their home automation platform to control it.

I decided on a more comprehensive approach. I want to completely replace the Omlet controller, without losing anything that it does in operating the door — the crush switch needs to work, and the motor’s current needs to be monitored. I want my controller to integrate with my home automation platform but be operationally autonomous, so it needs a real-time clock module with backup power — you’ll find “RTC” in the datasheets for all those boards with common Wi-Fi microcontrollers, but that is just a clock that will reset when power is lost. And I want to do something to sense that the door is fully opened or closed — possibly add a pair of reed switches or a distance sensor. I don’t need a light sensor as sunrise/sunset can be calculated based on the time and latitude/longitude.

I’ve named my project Frittata. As of today, I have a proof-of-concept prototype using a Pico W running CircuitPython with an INA219 current sensor and DRV8833 motor driver. That leaves plenty more to do, and I’ll probably throw all the prototyping work away in favor of using an ESP32-based board and ESPHome or the Arduino framework, but despite this being the most complicated thing I’ve done with a microcontroller by a wide margin it is hardly rocket surgery. I think another 10-20 hours work gets me to something I’m comfortable unleashing upon my flock.

What’s this about?

Have you heard the joke about The Cloud?

How about the one about there being no such thing as a free service?

Or what the S in IoT stands for?

(The A & R in IoT stand for Availability and Reliability)

Why on Earth do so many “smart” products demand that I install a phone app and give it access to my location? Why do they need an Internet connection and often fail to function when the manufacturer’s “cloud” experiences problems? Why does my dash cam need a subscription? Why do so many products eschew open standards and full local control?

What happens when these manufacturers go under? Get bought by Google another company and shut down? Or just randomly decide that my devices no longer serve a useful purpose for them and shut down the services they depend on?

I don’t want anyone monetizing data gleaned from the devices I need to live a modern existence. I don’t want anyone having that data at all. I want my “smart” devices to serve only me, to last until they physically break or are rendered obsolete by progress, and to not be dependent on subscriptions-as-a-monetization-decision — I’m happy to subscribe to services that incur ongoing expenses, and deliver commensurate value, but too many are design decisions to generate recurring revenue by gatekeeping functionality in The Cloud.

This is my journey in reducing The Cloud in my life. And whatever else strikes my fancy related to Home Automation, IoT, Self-Hosting, and whatnot.

Welcome.