Eggonomics

Alternately: How chicken ownership won’t pay you back in “free” eggs.

The joke amongst tenders of chickens is that the first egg costs $2,500.

That’s fairly close to our startup costs in March of 2020, constructing everything ourselves, ahead of lumber prices skyrocketing, and not including the cost of any tools. What we built wasn’t exactly fancy or photogenic, either, and we’ve spent plenty more on expansions and upgrades.

Under normal market conditions, cheap retail eggs are about 10¢. A medium-sized hen will eat about 1.5lbs of feed a week, 51¢ if you’re buying 50lb bags of cheap feed (quite a bit more if you’re buying lower quantities or organic). If she’s a highly efficient breed she could lay 5-6 eggs per week during the most productive ~18 months of her lifespan.

When market conditions get back to normal, that chicken will probably cost you money to keep alive. You’re not going to collect every egg — there will be breakage and they will hide them from you. Beyond two years of age, productivity will decline. As daylight hours get shorter, productivity will decline. When they experience health issues, and during a molt, they’ll stop laying completely.

And there are other routine and irregular expenses to consider. You’ll need some chicken supplements and remedies for when they’re inevitably unwell, bedding needs regular replacing, and you’ll want to regularly buy their affection with mealworms, scratch grains, and other treats.

And what value do you place on your chicken-tending labor? Routine upkeep shouldn’t be massive but over the course of a year it will easily add up to 100-200 hours. Who’s going to care for your chickens when you’re away? In my friend group it turns out there are a whole bunch of people who are terrified of chickens.


Now, if you’re quick with the maths, you’ve realized that with cheap retail eggs over 40¢ right now, a happy healthy hen could be worth $75-$100/yr in egg “profit” over the cost of feeding her. With enough birds and time, one might earn back their investment. If you’re pessimistic about future bird flu outbreaks causing extended pricing pain, let me tell you, the market strongly disagrees. In my area there’s plentiful supply of 4-6 month old hens1 at $20-$40 and 18-24 month old “retirees” from commercial farms can still be had for $152. Retail baby chicks are also still being sold for the standard ~$6.503. They’re selling out faster than normal, but that’s a difference of just hours4.


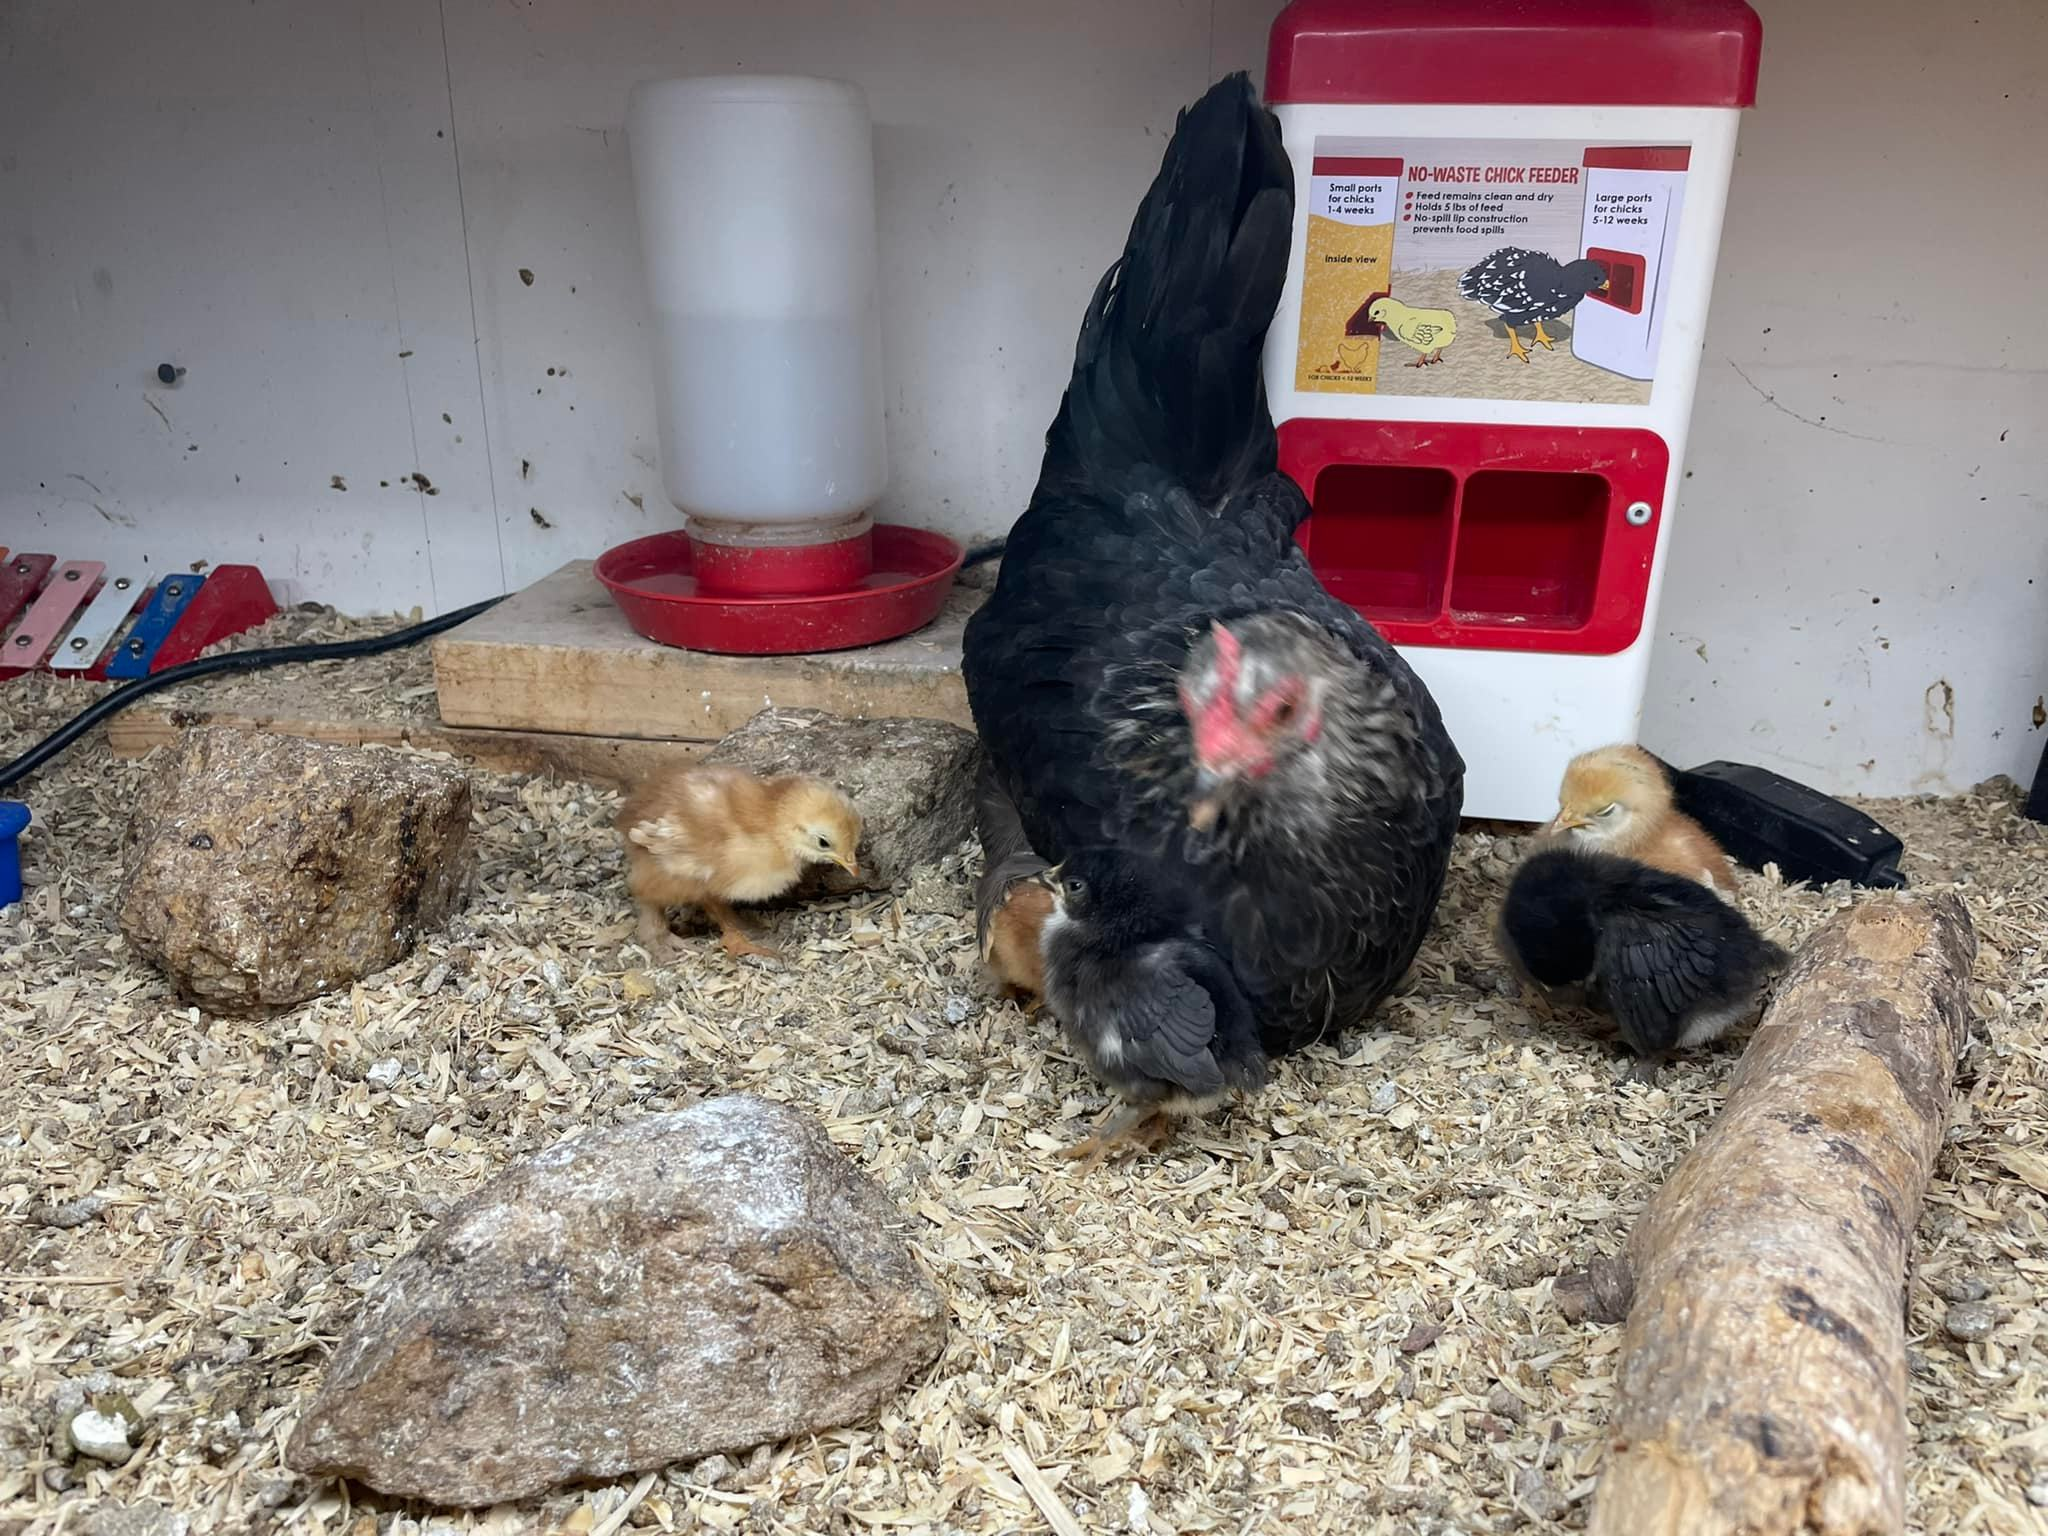
Now, let me tell you about the heartbreak. I joke that the thing chickens do best is die5. With baby chicks, if you do everything right you should still expect that 5-10% won’t survive 10 days. And it’s real easy to not get everything right. Mature chickens are much less fragile, and as prey animals they’ll do their best to conceal sickness or injury. If you don’t notice quickly and separate them from the flock, they can end up dying from not getting enough food and water before whatever else is going on can kill them. I’m fairly well attuned to all my chickens’ individual behavior and still sometimes one just drops dead overnight without me have spotted that anything was amiss.

If you’re serious about giving unwell chickens the best shot at survival, looking after them can be quite time consuming and costly6. I’ve spent about $500 on a small coop and minimally confined outdoor area for chickens that just need to be separated from the flock to ensure they get access to food/water while on the mend, and another $150 or so making a place to keep more seriously unwell and less mobile chickens comfortable indoors where they can be more actively looked after.

Then there’s the “predator” problem. Do you have dogs, do dogs roam your neighborhood? You need fencing that will keep a determined dog away from your flock. And as good a boy as you believe your own dog is, you need a lot of time to establish that chickens are part of the pack. If they have any kind of prey drive, forget about it — they are eventually going to slaughter your flock for funsies when you’re not watching.

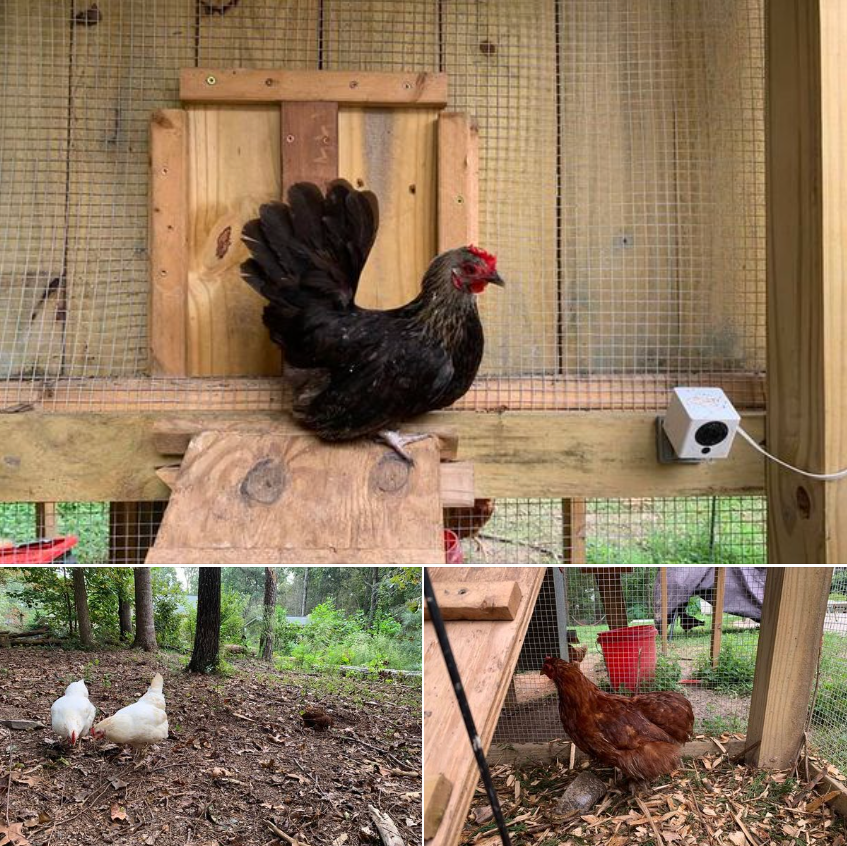
Feral domesticated cats generally won’t mess with grown chickens, as they’re too large to be their prey, but all other wild felines along with foxes, racoons, opossums, weasels, minks, coyotes, hawks, and bears are threats. Some of them will dig under or chew through wood and chicken wire. “Predator-proof” containment for chickens gets expensive, fast. Our fully enclosed run isn’t big enough for our flock size, so they have access to ~1,500 square feet of open-air pen space and we let them free-range our back half-acre for a couple hours every evening, and I live with that fact that the occasional loss to a hawk is the price of letting my chickens live their best life7.


Which is a very long and winding path to saying that a lot goes in to chicken tending and it’s bloody unlikely that a backyard flock can ever pay you back in eggs for your own consumption. The eggonomics are better if you can cultivate a market willing to pay a premium over bougie “pastured-raised, organic” store eggs but you shouldn’t count on that, either. This year my partner has been selling all of our excess at 75¢ but in the past we literally could not give away enough eggs to avoid wasting them in substantial quantities.


If you believe that pet chickens will bring joy into your life, and that getting fresh eggs is just a happy little perk, by all means, educate yourself on chicken care and go it.

I’d strongly encourage starting out with 4-6 grown hens. Save the raising of chicks for when you’ve gained some experience dealing with adult chicken problems8.


  1. 6 months is the age when highly productive breeds should be laying consistently, but there are no guarantees. And the stress of re-homing a grown hen may put them off laying for days or months. ↩︎
  2. We bought eight retiree hens when we started, five years later the survivors are still our best producers but the economics of commercial-scale production are such that they replace their layers every 18-24 months. ↩︎
  3. Figure you’ll spend ~$20 to buy and raise a retail chick to laying age. Plus you’re going to need to invest in a brooder and whole other set of supplies to accommodate them until they’re ready to live outside. ↩︎
  4. You’ve always needed to be the early bird to get the, uh, birds that you wanted. But now you’re definitely not getting any at 2pm. ↩︎
  5. What they really do best is convert grassy / garden spaces to bare dirt. But death is a close runner-up. ↩︎
  6. And forget about veterinary care. If you can even find it, the cost will be prohibitive unless you really love that bird. ↩︎
  7. I keep a few roosters as flock guardians but they’ve proven useless against hawks. Well, I had a ridiculously handsome Red Cochin Bantam who was 20lbs of fury crammed into a 3lb body who once got snatched by a hawk and somehow won that battle — I joke that he was such a raging asshole that the hawk decided to give him back — but none of my roosters has ever challenged a hawk that was feasting on a hen. ↩︎
  8. We have chicks that are now 2½ weeks old. The joy of watching them grow and discover and develop their personalities is huge, but that first week or so of just trying to keep them alive is intensely draining. ↩︎

Synology MailPlus Outbound SMTP Relay with Certificate Auth

I’ve been experimenting with self-hosting e-mail, taking advantage of Microsoft Exchange Online Protection to handle spooling and deliverability for $1/month.

Microsoft provides just two methods to authenticate outbound relay: By IP Address, or by Client TLS (SSL) Certificate. I’d like to use the latter and I’ve configured my Synology with certs for my domains from LetsEncrypt, but my mails were still being rejected by Microsoft.

Diagnostic-Code: smtp; 550 5.7.64 TenantAttribution; Relay Access Denied
    [ValidationStatus of '' is EmptyCertificate]
    [SN1PEPF0002529F.namprd05.prod.outlook.com 2025-03-24T20:27:41.492Z
    08DD65488162F7A5]

That error seems to suggest that no certificate was presented.

After much digging, I determined that Synology configures postfix with certificates for inbound SMTP but not outbound. Knowing that was half that battle.

From /var/packages/MailPlus-Server/target/etc/main.cf take these values:

smtpd_tls_cert_file = /some/path/cert
smtpd_tls_key_file = /some/path/key

Then create the file /var/packages/MailPlus-Server/etc/customize/postfix/main.cf using the paths you found:

smtp_tls_cert_file = /some/path/cert
smtp_tls_key_file = /some/path/key

Restart the MailPlus-Server package and it should re-generate main.cf with those values added.

Some day I’ll do a more detailed write-up on hosting e-mail yourself — it is not something one should enter into lightly — but right now I just wanted to get this information out there for Google to pick up because it was incredibly difficult to track down.

(Note: This was with DSM 7.2.1 and MailPlus Server 3.3.0)

Coop Door Progress

Firstly, R.I.P. to Biggie Smols aka The Notorious Ruth Bantam Ginsburg, the last surviving member of our “Bad Hen Records” crew consisting of Vanilla Ice, Suge White, and Puffy Combs. She was an adorable birb with a fantastic singing voice who absolutely loved hatching babies and is sorely missed.

Progress on automating the coop door has been a slog. My main problem is that I keep crashing CircuitPython. It seems to be related to asyncio and frequent i2c activity, but troubleshooting with the developers has been painful because it takes days to happen, CP has no native debugging capabilities, and they do not provide debugging builds.

Probably I need to throw in the towel on CircuitPython and switch to MicroPython or C.

I’ve also been experimenting with using Time-of-Flight sensors to track the door’s precise position.

The upside to that method, aside from the obvious, would be that it can be completely concealed by the frame and should be reasonably protected from water and dust.

I’ve gone through a bunch of sensors trying to avoid the VL53L4CD / VL53L4CX because they’re pricey @ +/- $4 for bare chips or $15 + S&H for a full board from Adafruit, but so far none of the lesser chips I can get on a board for $1-$3 on AliExpress have been suitable for the required minimum and maximum distance measurements. So I guess that is what it is.

I’ve also been researching how to do light control. The PCBs I had made have a provision for controlling 5v WS2812b LED strips but it wasn’t well thought out and I don’t believe it will deliver enough power. I need a MOSFET in there, power regulators, I want to support the Omlet accessory light, and being able to run PWM LED strips at 12v or 24v seems better than 5v WS2812b.

I also picked up some UART-based LoRa modules that I want to support. I have sufficient Wi-Fi coverage outdoors but I figure that could be a challenge for many people, and a differentiator from Omlet’s new Wi-Fi controller.

The final change I want to make is switching to an ESP board with more GPIOs and breaking out the excess ones so that someone could add hardware capabilities I haven’t considered yet.

Sometime next week I’ll be validating that the i2c bus / ToF sensor functions with 2-meters worth of cable, and then I’ll start designing a new revision of the PCB that incorporates all of that.

Apps are also the enemy

Anova just announced the planned obsolescence of their original connected immersion cookers. When my partner wanted one for Christmas 2016 it took all of my self-restraint to skip this product in favor of a “dumb” one, but even back then I was skeptical of the longevity of anything using on a proprietary phone app. Good on Anova for staying in business and keeping their products supported for this long, but lots of these devices will be prematurely sent to the landfill because they’ve lost one of their differentiating features.

I’m not all that eco-minded but I dislike this sort of wastefulness.

For Home Assistant users, the Anova BLE protocol has been decoded and implemented in ESPHome.

Screw that

Some problems with having built an electronics workbench with relatively little horizontal surface are that that work surface gets cluttered quickly and the storage I have within easy reach only works for items that are fairly compact.

Both of the precision screwdriver kits I have consume too much horizontal space in use and don’t really fit the pegboard bins I bought. My anti-static mat does have plenty of bit holders but everything I keep on there is one more thing I have to remove and return whenever I rinse off the mat.

Probably I should buy a precision driver with built-in bit storage, but LTT isn’t selling theirs yet and how could I buy something else knowing it will be massively inferior? Plus none of them hold enough bits.

With much searching on Amazon, I did finally find something quite compact with lots of bits plus some handy extras for just $10, satisfying my inner tightwad.

It fits my pegboard bins just fine, sticking out about 2 inches. Placed upright it barely takes up any of my workspace surface. The quality overall is Meh but it’s plenty Good Enough™️ in all the ways that matter.

This is fine.

You’ve seen the meme, but did you know there’s a desktop toy?

Of course I bought one. And immediately tore it apart, wired it up to my favorite ESP32-S3 board, and whipped up some code to make it respond to button presses on my Wiz (ESP-NOW) remote.

But I wasn’t satisfied with the result and was determined to find a way to make everything fit inside the battery compartment. I had some Sparkle IOT ESP32-C3F modules — an ESP32-C3 in an ESP-12 compatible package —on hand, and a solderable PCB I could cut up, and just made it all fit.

Here’s a video of it in action:

All told it’s less than $6 worth of parts: ESP32-C3F, 1K resistor, PC817 optocoupler, AMS1117-3.3 board, Micro-USB breakout, about half of a snappable PCB section.

Workbench

Several weeks ago, a Jeff Geerling video teased a future video on his new electronics workbench setup:

Jeff Geerling's Electronics Workbench

It just so happened that I was also building a dedicated electronics workbench, using a 48×24-inch motorized desk as the base, and I’d been mulling over how create storage for all my electronics tools and components around such a limited space. I wanted to somehow attach some pegboard but was struggling to figure out how to make that both cheap and sturdy using only tools I already have and materials I’m comfortable working with.

Jeff’s shelving kit looked perfectly adaptable to my goals, and being impatient, I scoured the Internets to learn what they were: Shelf Links by 2x4basics.

This is, honestly, an amazing result. All the important stuff is within easy reach, with plenty of space to store less-frequently-used items, all squeezed in to the narrow space I could devote to it in my home office.

I lucked out on getting the desk on manufacturer clearance for half-price (now sold out, sorry), so all-in with the shelf links, lumber, and organization products I spent about $500. If you want to build something like this on a motorized platform, do be aware of its weight limits. Wood is heavy. I’ve got about 100lbs of lumber here and a solid wood desktop of more typical dimensions can easily be another 100lbs.

These are a few of my favorite ESPs

I’ve tended to reach for a Raspberry Pi Pico W when I want to try things, as the UF2 (Mass Storage) bootloader makes it so easy to get started and rapidly iterate. Doesn’t hurt that I can always pick up another one at my local Microcenter for $5.99 and, unlike many ESP32 boards, they fit comfortably on a solderless breadboard.

Why doesn’t this random $3 ESP32 board fit properly on a breadboard?!

Every First-Time ESP32 User

But the more I’ve used the Pico W, the more I’ve found the Wi-Fi to be… troublesome.

Espressif has learned their lesson about size and pretty much all of their current designs — except those based on the legacy ESP32-DevKitC form-factor — are ~25.4mm or narrower, but 3rd-party boards that use older and wider designs dominate the marketplace. Especially when shopping primarily based on price. And people who should know better will still suggest those boards to people asking how to get started. #smh

I’ve come to the conclusion that buying cheap, “classic” ESP32 boards is being penny-wise and pound-foolish. I now only want to buy ESP32-S3 boards, because a perk of the -S3 is native USB support that allows for a UF2 bootloader to be installed for the Pico-like experience. And I want them to have some PSRAM, because I’ve managed to run out of memory in CircuitPython despite my best efforts to aggressively release memory and trigger garbage collection. And, of course, I want boards that fit comfortably on a a breadboard.

My current group of favorites are all from Waveshare and even narrower than 25.4mm:

The ESP32-S3-Mini is the board I’m reaching for first, as the smallest and lowest-priced of the bunch. It has 2MB PSRAM, 4MB flash, 13 usable GPIO pins, plus pads that can provide up to 11 more GPIO. It fits a 170-point breadboard with 8 rows to spare and the sequential pin numbering is a massive quality-of-life improvement over most boards.

The ESP32-S3-Nano replicates the Arduino Nano ESP32 at around half the price. It has 8MB PSRAM, 16MB Flash, and 22 usable GPIO pins. It can also (barely) fit on a 170-point breadboard.

And the ESP32-S3-Pico faithfully replicates the Raspberry Pi Pico form-factor and pinout. It has 2MB PSRAM, 16MB Flash, and 26 usable GPIO pins.

Again, these are not dirt-cheap boards — the -Mini gets down to $6.15 pre-soldered if you buy 4+ direct from Waveshare, plus $6 shipping to the US, or $12.49 on Amazon — however, objectively they’re not expensive and I feel bring plenty of value over the absolute cheapest boards. I love the -Mini for its overall compactness. The other two cost more but I believe are fair values on their own merits, and compatibility with accessory products from their respective ecosystems — which are vast — is a sweet bonus.

The -Pico and -Mini also come in slightly cheaper ESP32-C3 and/or -C6 variants, if you don’t find the -S3 compelling or have an affinity for RISC-V.

I would suggest extreme caution if looking at 3rd-party boards claiming to be copies of the Espressif’s big boi 44-pin ESP32-S3-DevKitC-1: Every one I’ve found on Amazon copies the pin arrangement but is ~28mm wide instead of ~25.4mm. The give-away is that they’ve silkscreened the GPIO labels next to the pins instead of between them — the ESP32-S3-WROOM-1/1U/2 modules don’t leave enough room for that on a board ≤ 25.4mm wide. There are correctly-sized clones on AliExpress, I bought five from this listing for $23 delivered, but that’s a deal that probably won’t last and other listings don’t come at much of a discount to buying the genuine Espressif board for $15 on Amazon. Waveshare managed to make their compatible ESP32-S3-DEV-KIT-N8R8 shorter by around 7mm while retaining the genuine WROOM module, but it carries a premium over all their other ESP32-S3 boards. Given the prices. and the ginormous size of the Espressif design with substantial overhang at both ends, I think this format should be reserved for projects requiring more GPIO than the alternatives.

And, finally, if you’re supremely budget-constrained and absolutely have to go with a board that’s $5 on Amazon or even less from China, the magic search terms are “ESP32 38-pin Narrow.” Those should be 25.4mm, but sometimes they are wider and you should always try to find documentation of the dimensions before buying.

My First PCB

Over the weekend I attended an introduction to PCB building class at Freeside Atlanta. They are an exceptionally friendly and welcoming group with an awesome space full of all the goodies I could ever hope to have access to for electronics, metal, wood working, and even blacksmithing, but sadly I live much too far away and would use the space too little to justify the membership costs. 11/10, would recommend them to anyone living near the airport.

With a few more hours work the next day, I’ve constructed and ordered my first prototype PCB for the coop controller:

The v3 prototype is probably not going to make it to the coop because it really needs longer screws and spacers to fit comfortably in the outdoor enclosure, and that just feels wasteful to track down and buy for what was intended to be an extremely temporary solution, so hopefully when this PCB gets here it actually works 🤣

I also ordered Omlet’s new smart controller. For science.

It appears to be trivial to replace the firmware but trying to hack on that isn’t high on my priority list right now. I am curious if it has a real-time clock module — the “RTC” built-in to the ESP32-S3 is a clock that ticks, not a clock that follows and preserves Earth time after power loss like found in a typical computer — but the markings on all the ICs are obscured by a coating.

Progress on the Chicken Door

This is v3:

First with v2 I switched to an ESP32-S3 board, because the Wi-Fi on the Raspberry Pi Pico W… sucks. For several days I battle-tested the Pico W against an ESP32-C3 with the classic PCB trace antenna, an Arduino Nano ESP32-S3 with a fancy resonant cavity antenna (like the Pico’s), and two other ESP32-S3 boards with ceramic antennas in the location I need this to go, and while I’m not sure there’s a clear winner, the Pico W was the worst.

Then I worked on adding physical controls and a DS3231 RTC module. Cleaning up my garbage “Make it do something” code and migrating to asyncio coroutines. Learning things like: Sometimes the motor doesn’t start and doesn’t draw significant current, so monitoring that the current has risen above a certain threshold is a thing I needed to do.

This v3 is prepping a more suitable version to go outside. It’s nearly ready…

Just in time for Omlet to have released their own Wi-Fi controller 😂🤣😭

Tho it doesn’t sound like it does the things I want my controller to do.